Updates
Starting with an update on existing projects, I have the Amiga MIDI project working. I’d accidently crossed the input and output lines on the MAX2323 chip. A quick bodle later and it was working. It’s now corrected in the master PCB.
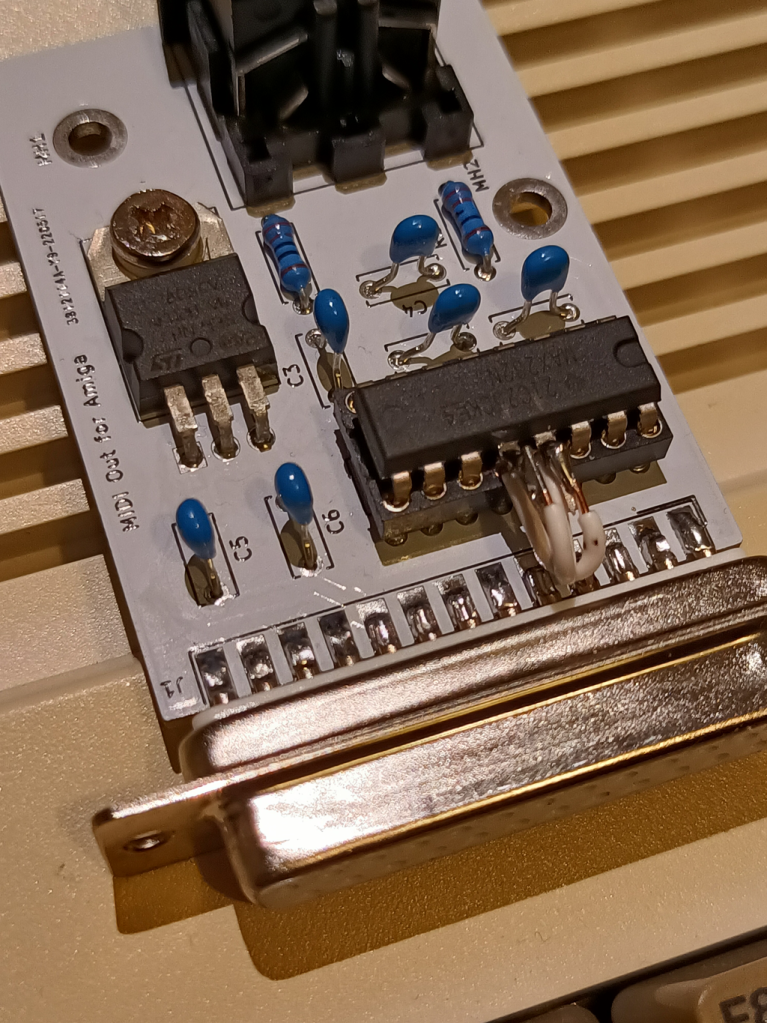
I also have permission from Grzegorz Kraszewski to release my version. That was very kind of them. Please note ALL support for my version is through me. If you want a better MIDI device than mine, go and buy theirs. It’s much smaller and does MIDI IN too!

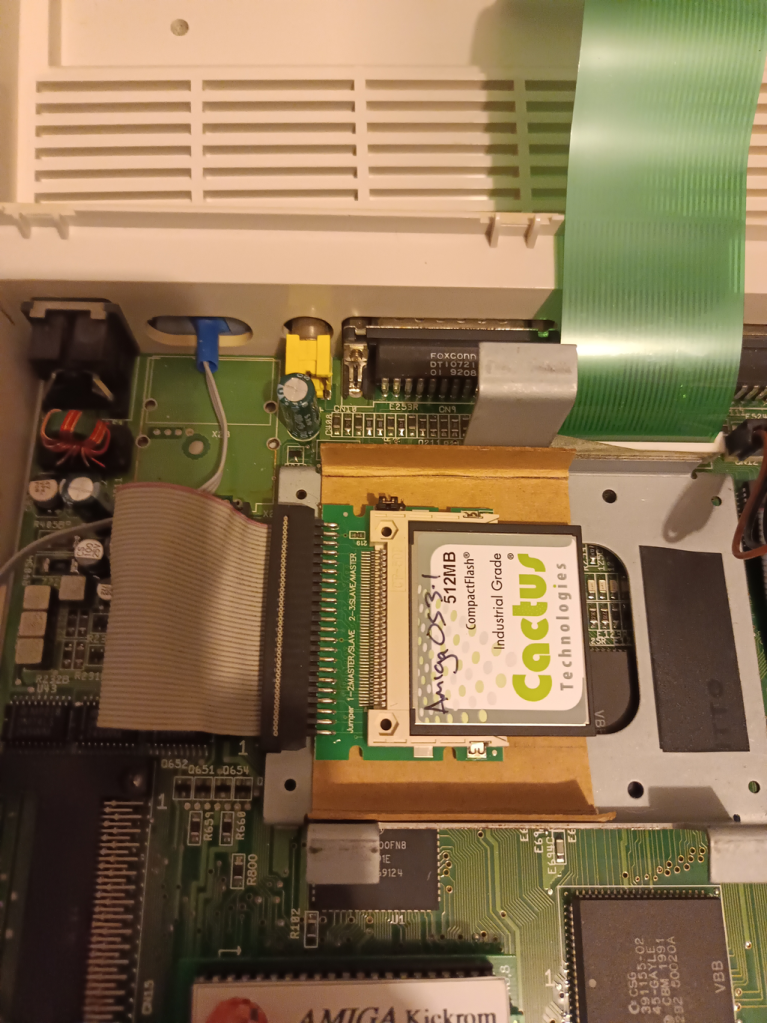
I also purchased some proper IDE to CF adapters from RetroKit, who was kind enough to hand deliver them to me. Helps we work across the road from each other :-D. These were able to finally solve all my IDE issues with the Amiga 600. It’s much neater in there now.
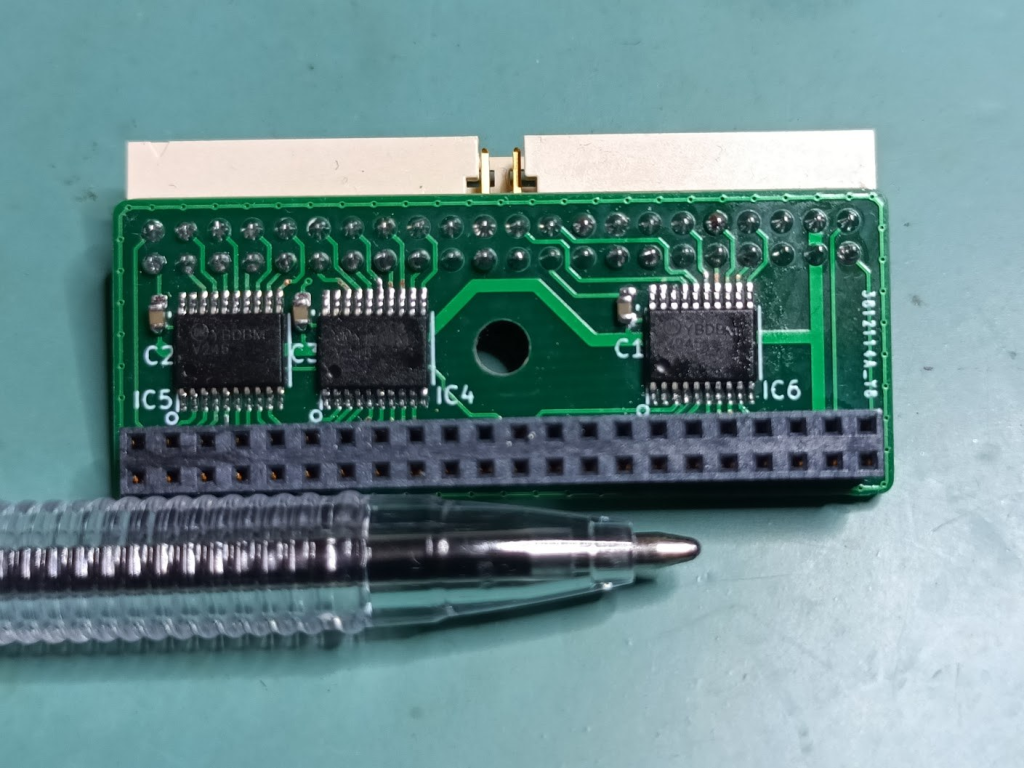
I also finally got around to testing the IDE Buffer board for shorts.
It uses really small components, so checking is a challenge, but I wanted to make sure I had no shorts on adjacent pins.
Unfortunately I did have a short on two pins.
I inspected carefully and it looked fine but the two pins were definitely shorted.
In desperation I checked the schematic… The two pins are both pulled to ground. They’re supposed to be “shorted” together
Oops!
PCBs
Onto what I spent most of the last fortnight working on: PCBs!
I use KiCAD a lot these days. I regularly design new circuits and systems. I’m not very good at basic electronics, but transcribing a schematic and generating a PCB, I am getting much better at. This week I ordered no less than 8 different PCBs and designed a ninth, just for giggles. More on that later.
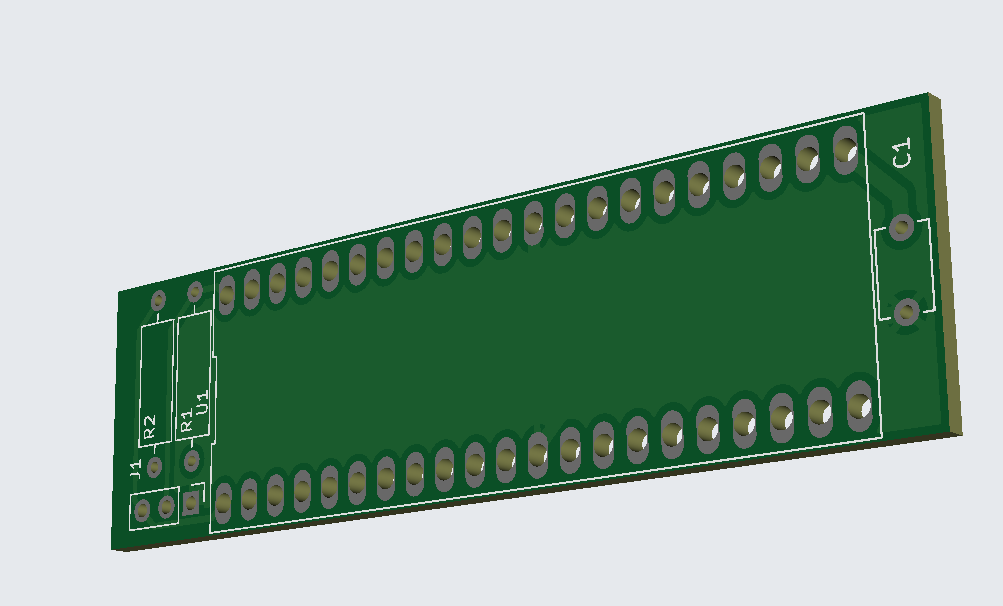
PCB 1 was a new spin of my Amiga MultiROM adapter, designed to take a 27C160 for four different ROM images. Not much to this one. My last spin almost worked. I’ve really only enlarged the pin holes slightly.
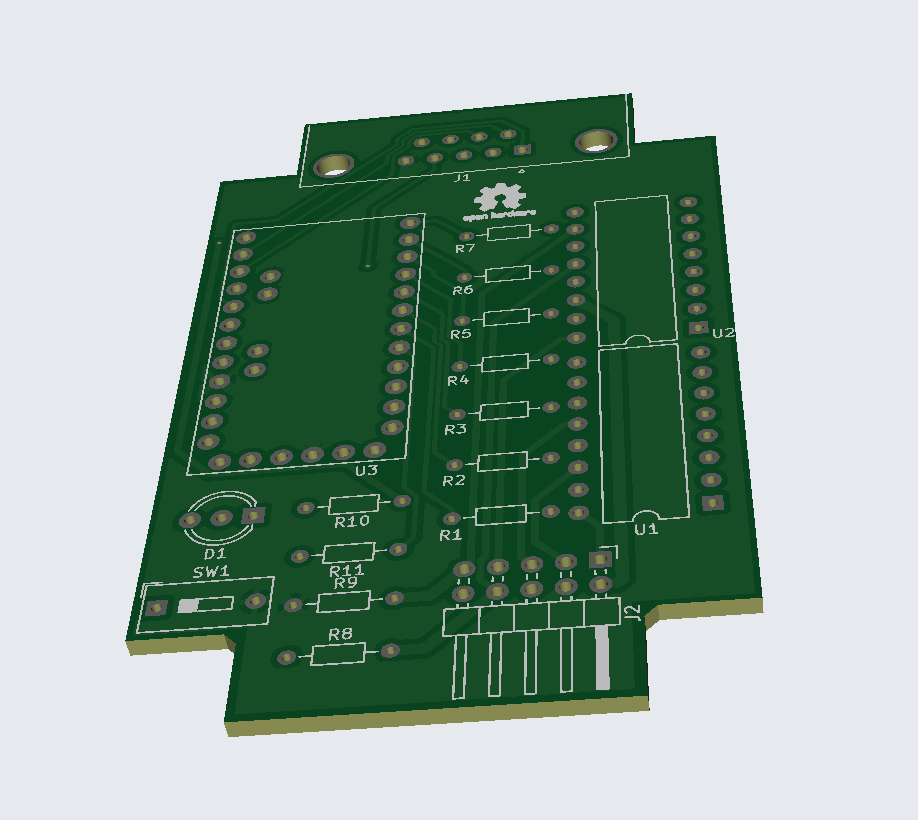
PCB 2 is a board for my MegaDrive to Atari joystick. I’ve designed it to fit inside a standard jiffy box from Jaycar. Once it’s done, assuming it works, I’ll be programming in extra features like auto fires and step modes. It’s also got a programmable 3 colour LED now, and a switch so I can change it from Atari 2 button to Amiga 2 button. I’ll probably hard code each adapter to be either Amiga or Atari, rather than switching them.
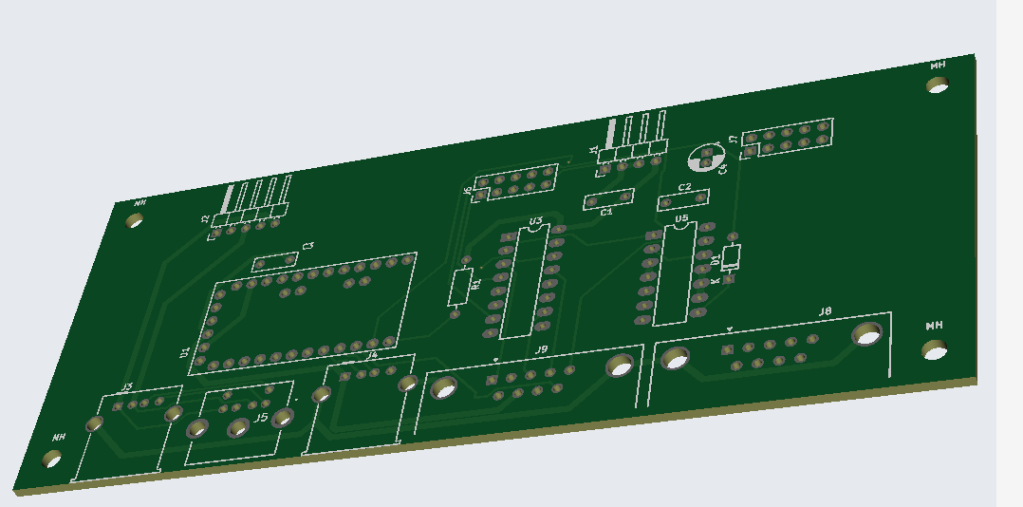
PCB 3 is a replacement for three different PCBs I’d designed for my Amiga 1200 case build. (Foreshadowing!) This one allows use of either a PS/2 or PS/2 compatible USB Keyboard, a PS/2 compatible USB Mouse plus a joystick (Switchable) plus a standard joystick, all with cables run to the back of the system so you don’t have to reach to the back to plug things in.
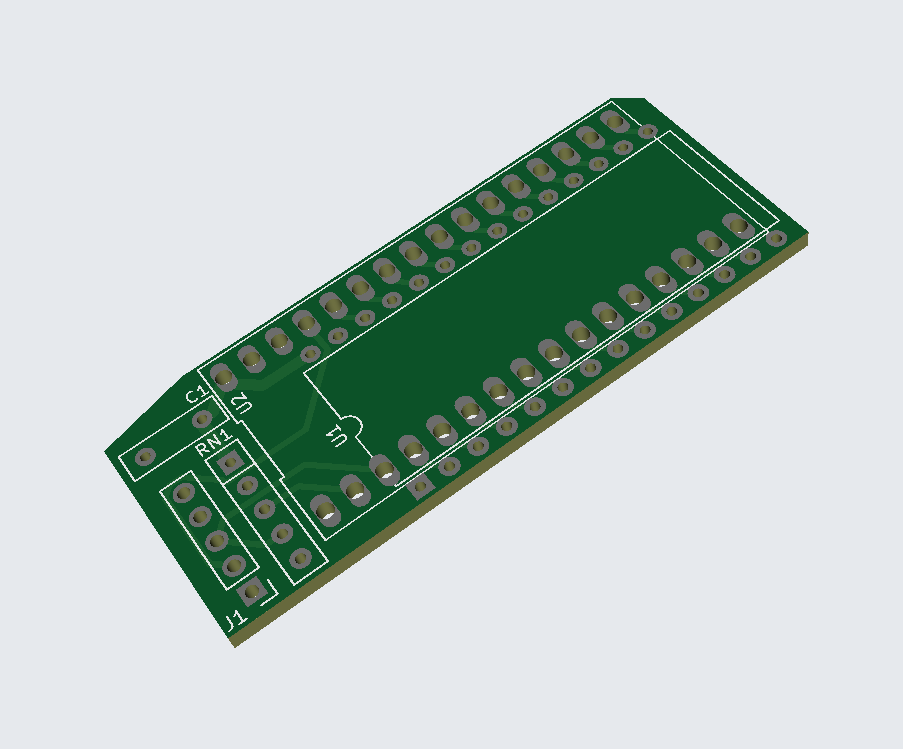
PCB 4 is the latest version of my BeeMultiROM switcher, allowing a ridiculous sixteen different ROMs to sit in a single ROM socket on a Microbee. This one is a low profile board, designed to drop inside the case.
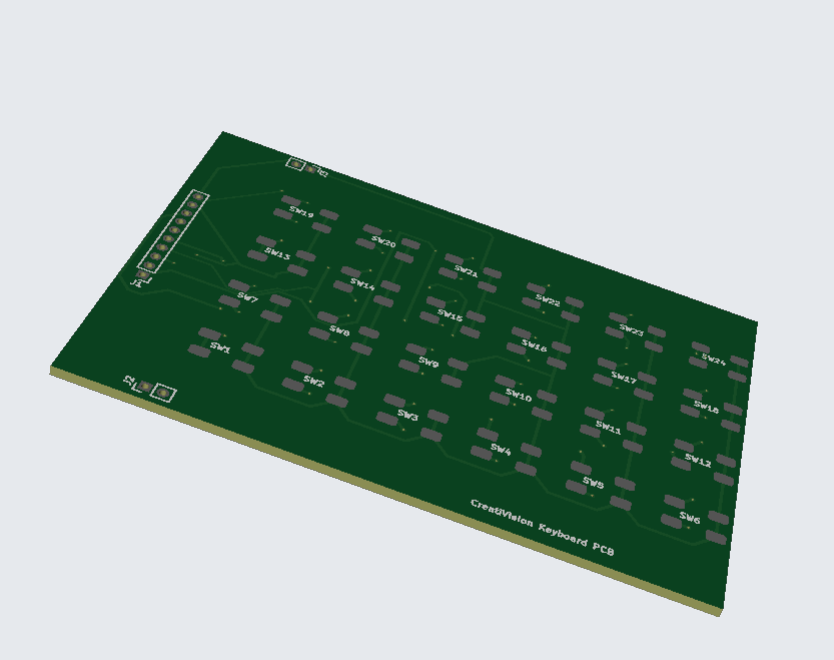
PCBs 4-8 are the next version of my CreatiVision controllers.
There’s the button board, with SMD diodes on the back
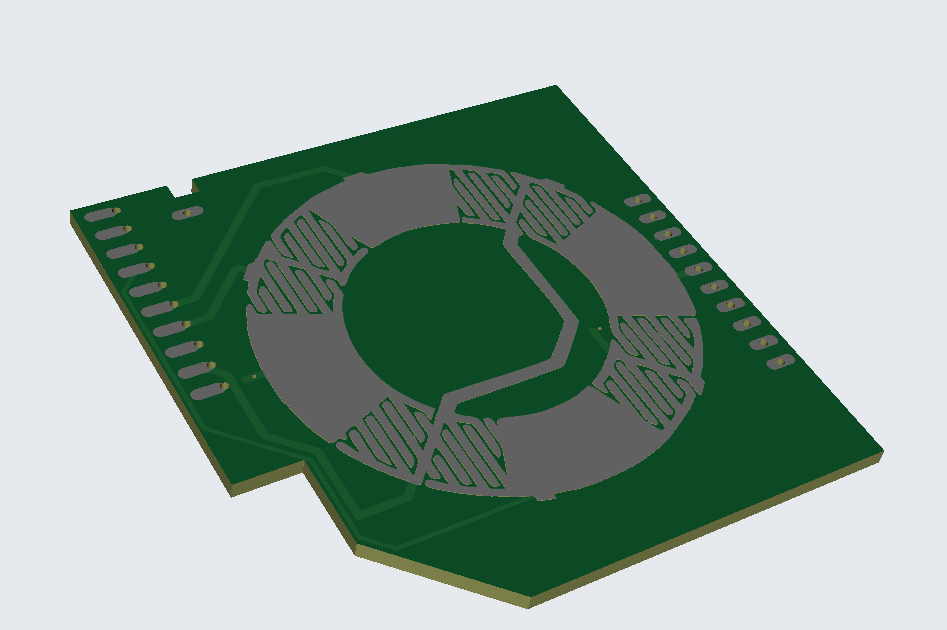
There’s the joystick lower board,
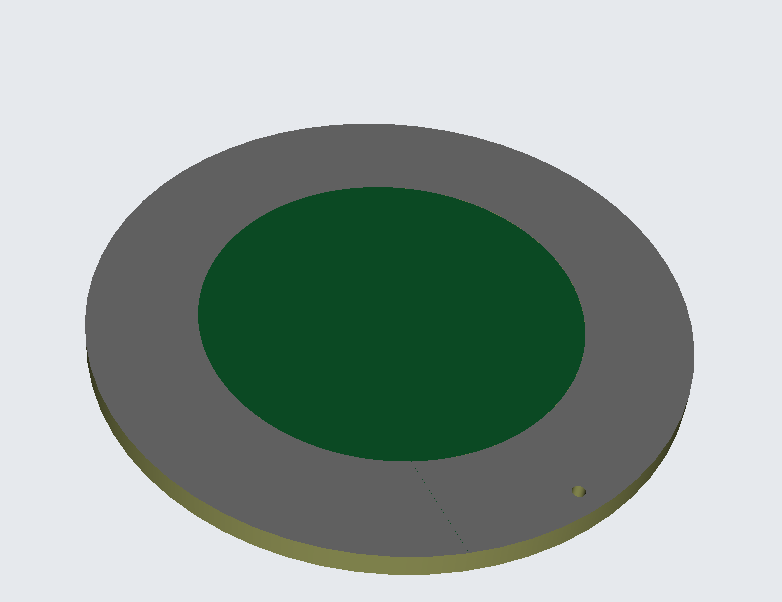
The disk that sits on top of the joystick board and makes connection when the joystick is moved…
And finally fire buttons (Not shown)
All in all, this has been a momentous amount of prepping, checking, correcting and finally submitting. Hopefully some of these will work, at least. It’d be awesome if I can get at least one of my joysticks working again.
Finally there’s the PCB I’ve designed but have not submitted, mostly because it’s not really a serious product at this point: The CreatiVision Mechanical keyboard!
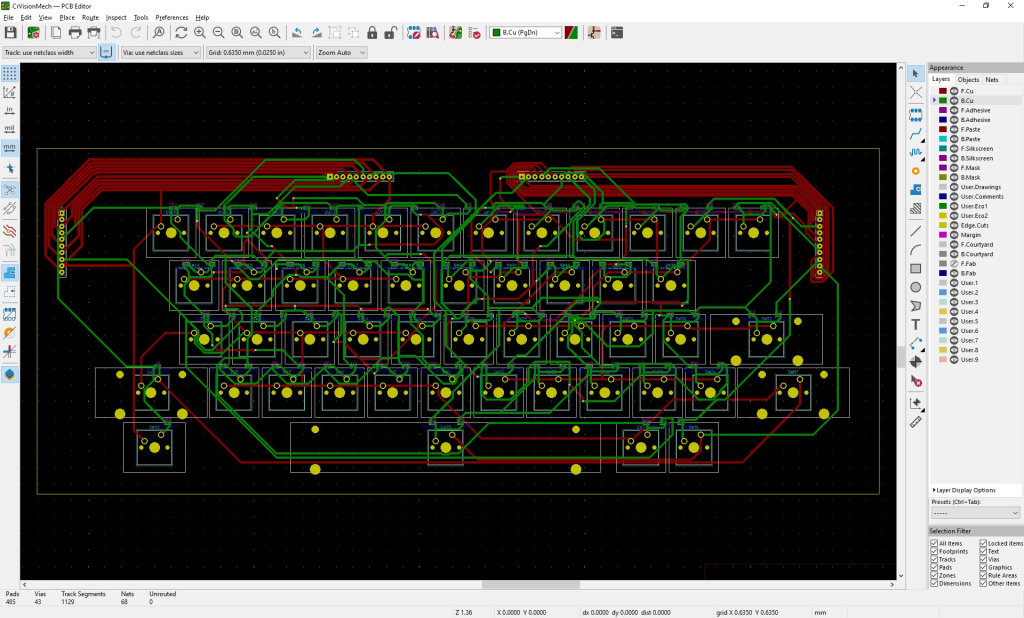
This was largely done as a bit of a joke. Effectively, if it worked, it would be a full mechanical replacement keyboard, using Cherry MX Switches, with proper stabilisers and the works. The CreatiVision keyboards are notoriously bad. Worse than ZX 81 bad. The “upgraded” keyboard was barely on par with the Sinclair Spectrum “Dead Flesh” keyboards of the day, so the idea of having a fully mechanical keyboard is just silly and appealing. Unfortunately, it’ll cost me about $100 to get just the parts, and even then, there’s no guarantee it’ll work.
Anyone want to sponsor me? 😀
CorelDRAW Work on the Amiga 1200 case
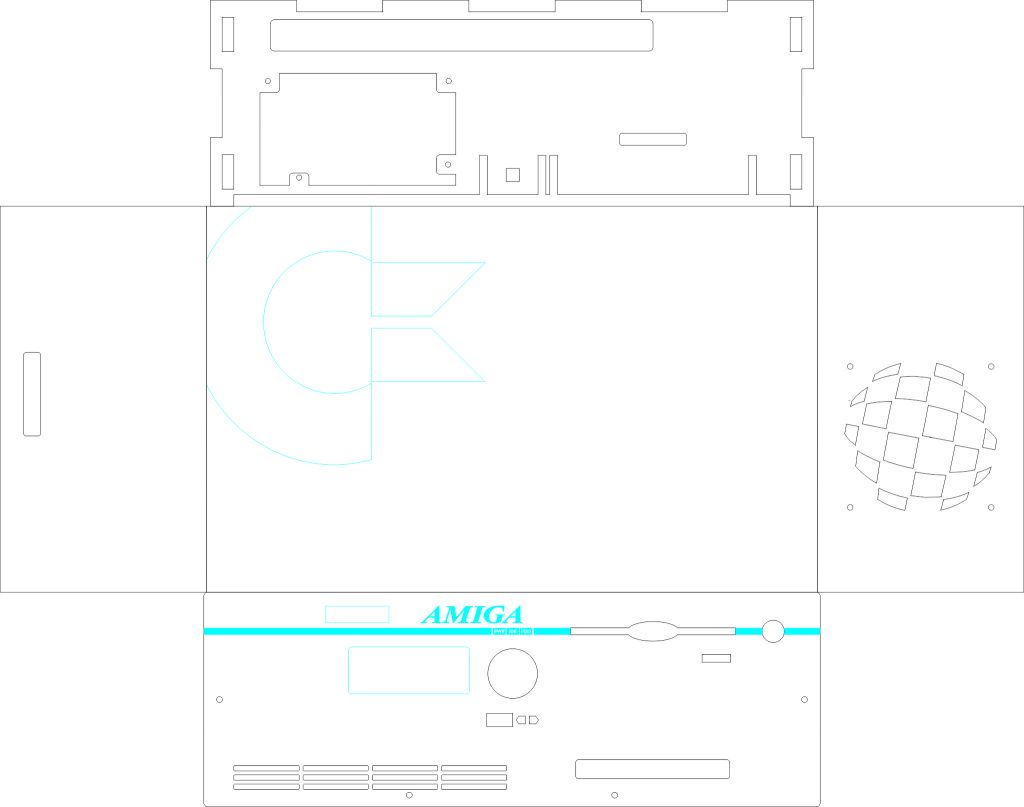
I also spent a week designing the new case for my Amiga 1200. When I purchased it, it was in a beaten up and badly yellowed “Tower Conversion” case. I had designed a new case for it several years ago, but when I recently tried to cut it at the Artifactory, I discovered I could no longer reliably cut 12mm MDF, so I had to redesign. This gave me a chance to remove some of the more… garish flourishes I’d added to the first version.
This was not a small project, and I’ll still need to make a test version, hopefully with an aim of keeping anything that “works” into the final revision, with an aim of cutting less and less each week until I have my final case built.