Well, I have the “haul” of old computers, and I’ve been slowly working through them
TRS-80 CoCo
With the 4 I had, all were using RF, and I knew one worked and one definitely didn’t work. I started by doing an S-Video Mod on the first one I picked up. With 2020 hindsight, this was the wrong move. I should have started with the known good system, but I’m a sucker for punishment and I went off and modded it anyway.
At the end I got this
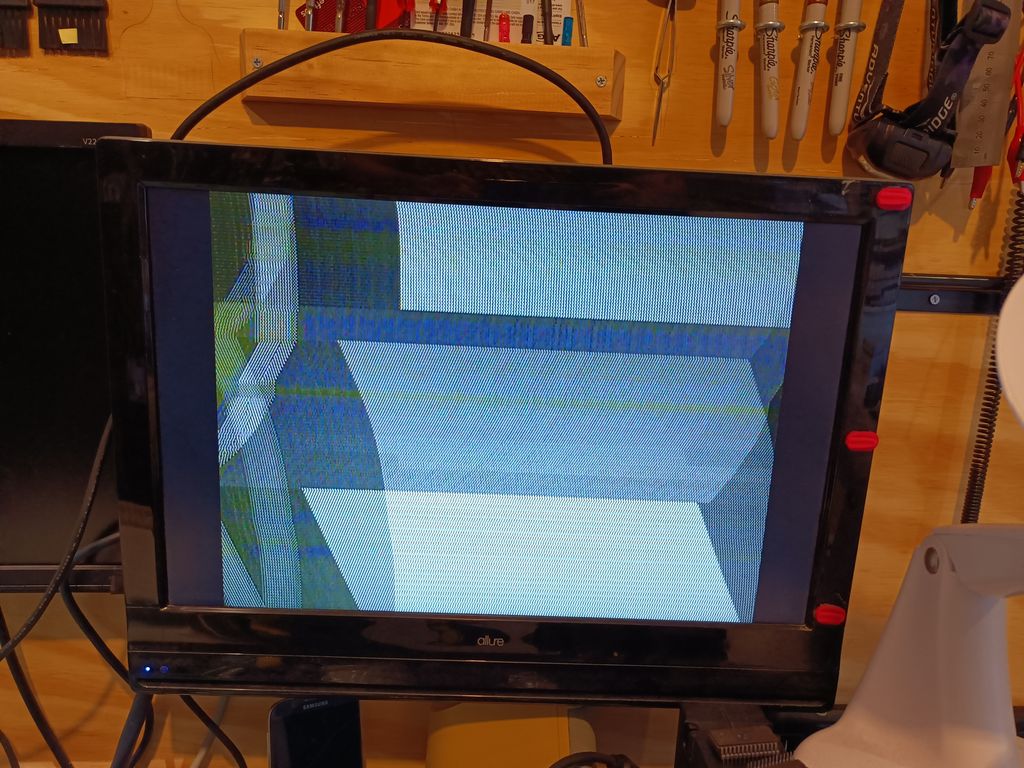
Not really what I was looking for. I should have started with the system with the known working state, surely?
OK off I go then.
About halfway through constructing the second cable, a suspicion I had with the first cable finally makes me go and check, and yes, the first source I had for SVideo cable order had the luma and chrominanc e pins flipped.
I finish off this system and…
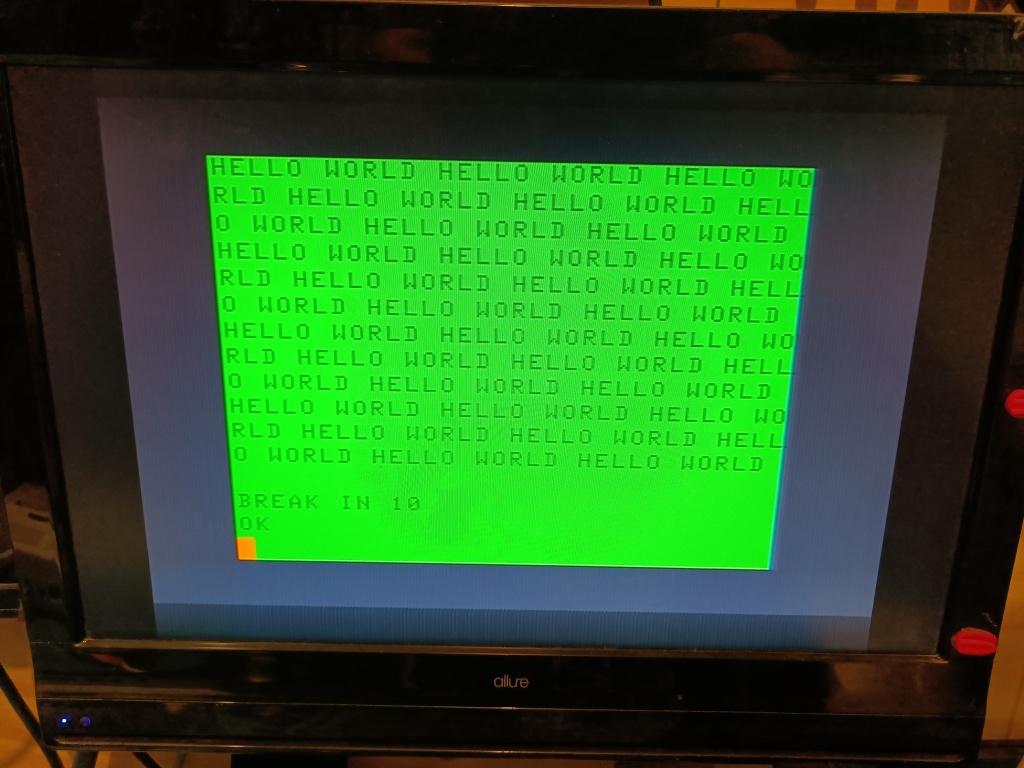
“Hello World” indeed!
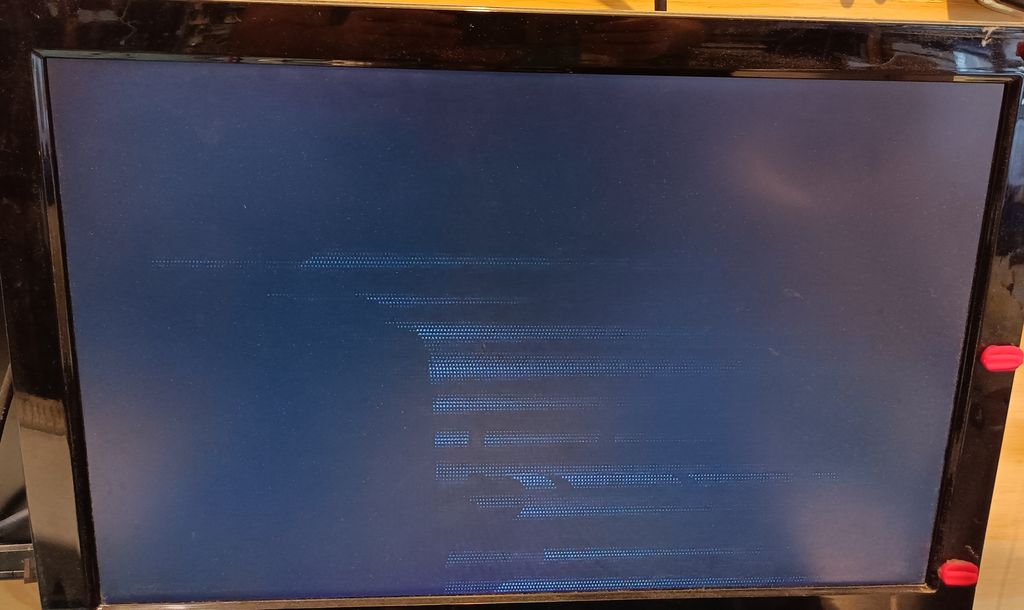
Back to the first system, I fix the pins on the SVideo pigtail I’d made up and…
Still not right. Sigh!
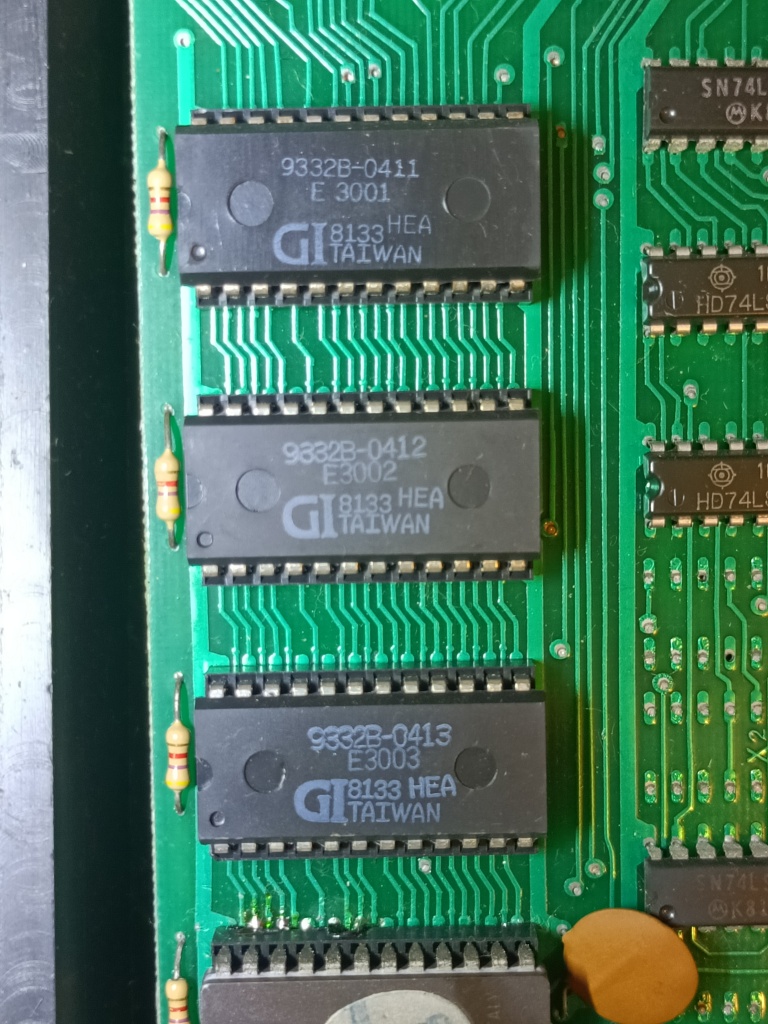
At this point I realised I had an untested CoCo of the same make and model, just missing chips. I populated it from the giant pile of loose chips I had accumulated for these systems.
This time, I was very careful to make sure all the chips I used were all “appropriate” to the system version. I’d been posted a closeup of someone else’s working CoCo 2 of the same model, which meant I was able to fill out all the components without an issue and, despite being RF, it did produce an acceptable system picture and booted to the BASIC prompt.
Right! Now it was time to play the “swap chips” game to see if I could get the already SVideo modded CoCo to work. One by one I swapped over components, and very quickly it came to life. In the end, I’d used two chips that were the wrong revision, and the picture was marginal with two of the 6832 Video Display Processor chips I had, but a third worked perfectly.
In the end I had three working CoCo 2s, with two modded for SVideo out.
TI 99/4A
At the beginning of this I had no idea how to proceed.
I went online and joined several forums, and the overall consensus was: Built a quick and dirty replacement PSU for the system rather than trying to build a transformer. Build a black and white Composite cable, and if things work, start upgrading.
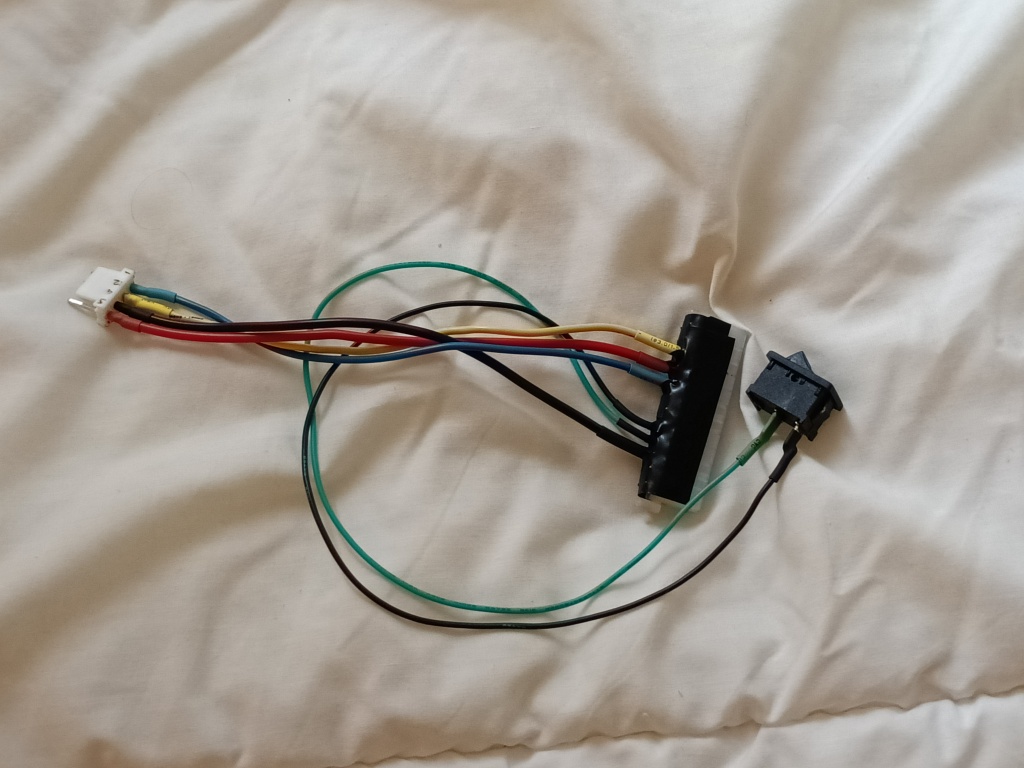
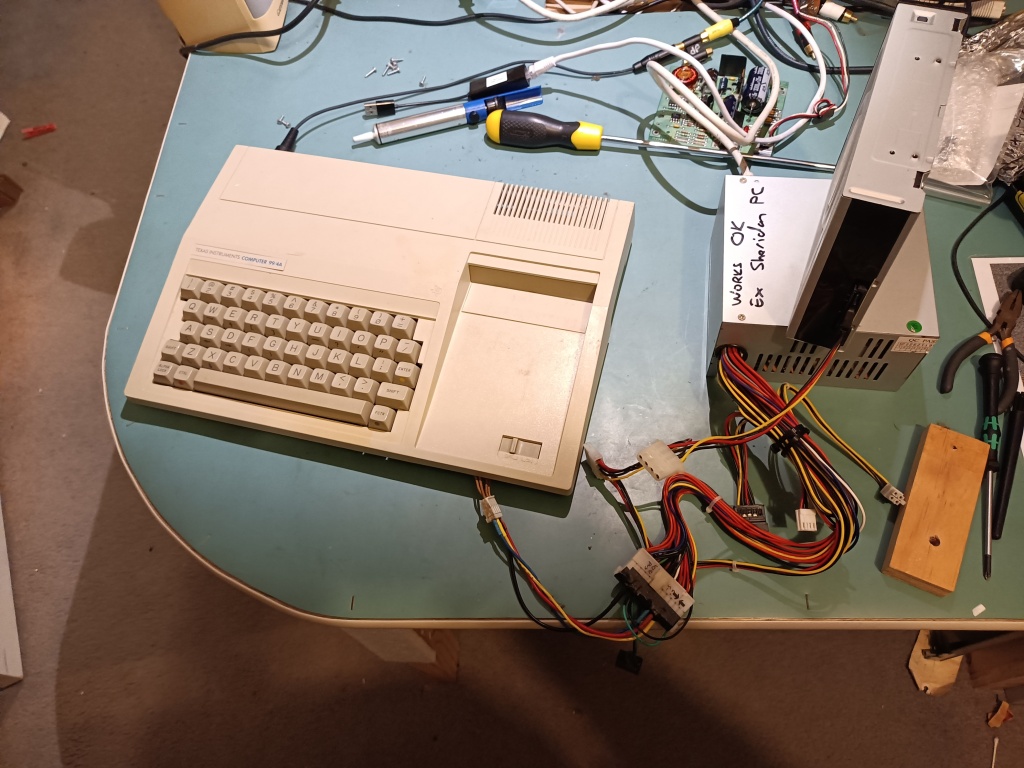
Finding an older ATX PSU with the much needed -5V line intact (They were deprecated from the ATX Standard so most new PSUs don’t have them), I proceeded to carefully make up a cable. I was aided by the voltages being written on the existing PSU inside the TI 99/4A. Also I had all the parts pretty much lying around. Even the connector was modified from one I’d desoldered off a Meanwell PSU I had previously used in a different project.
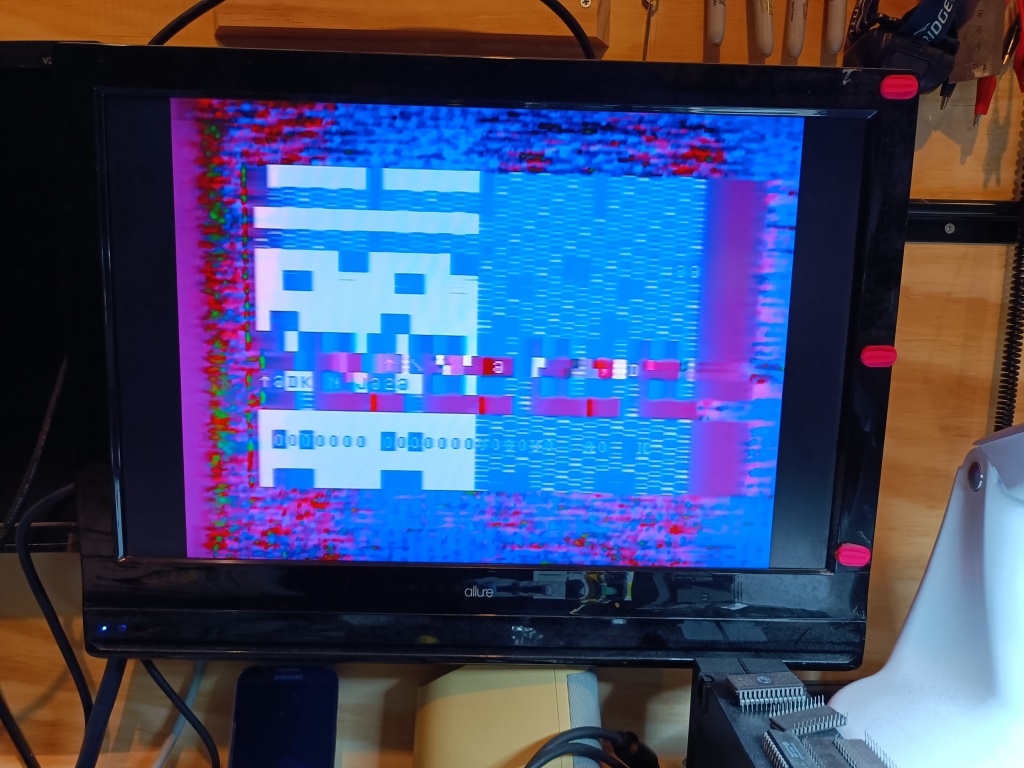
I unhooked the original PSU, plugged in the cable to the ATX PSU and propped everything up carefully and…
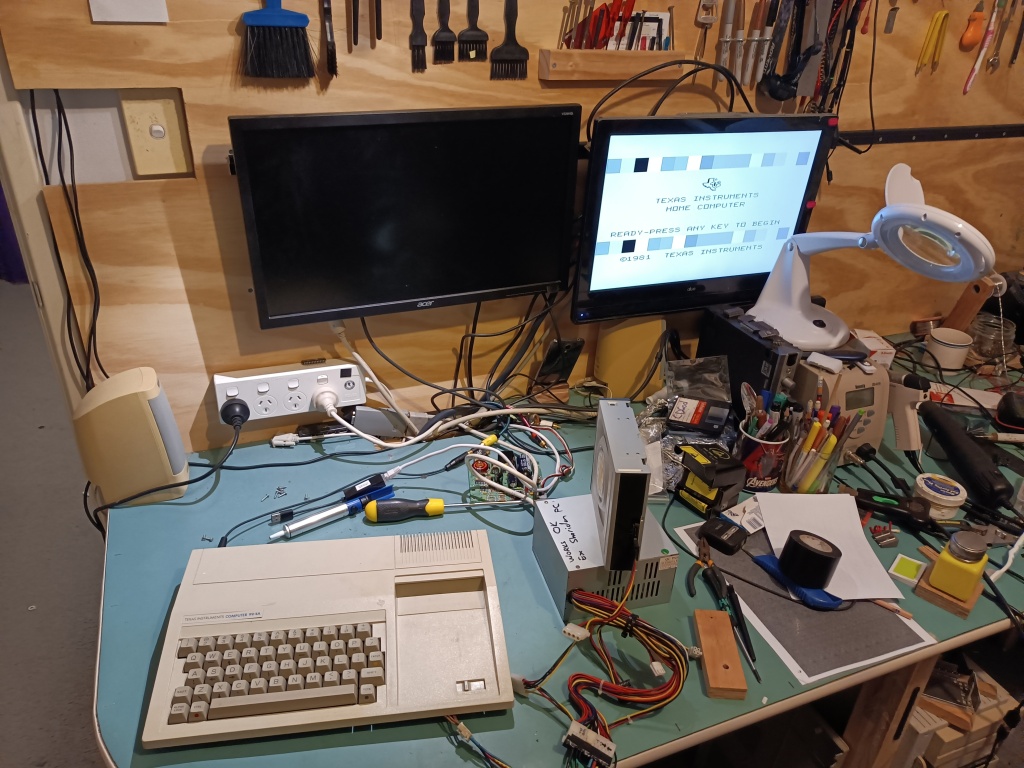
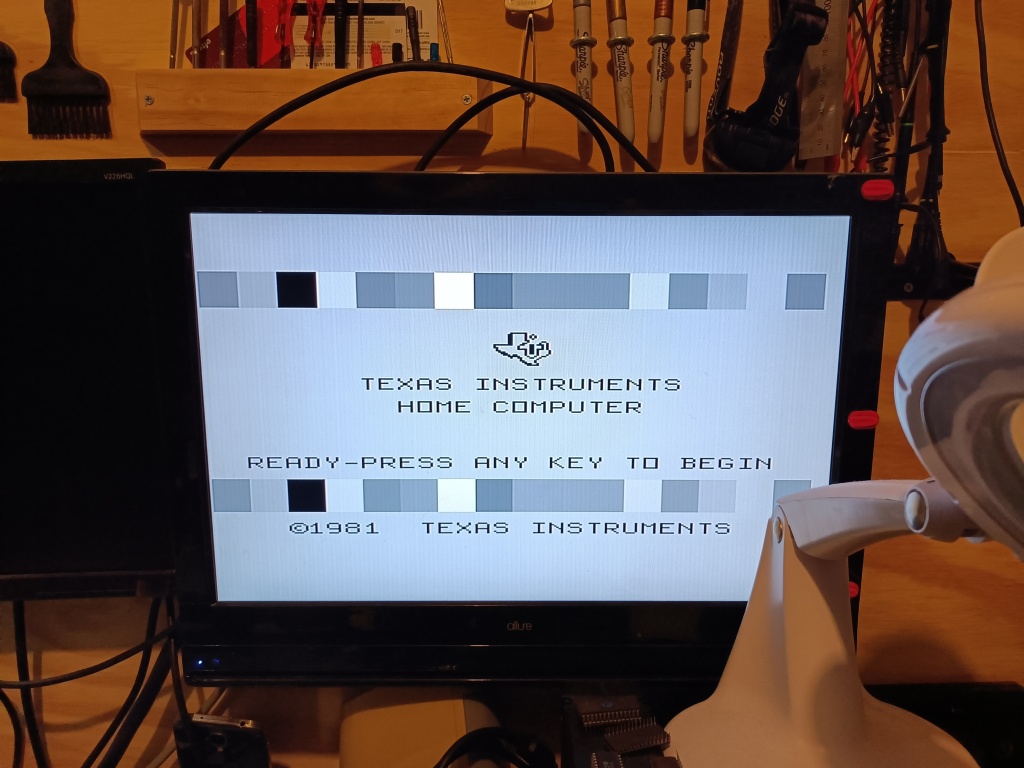
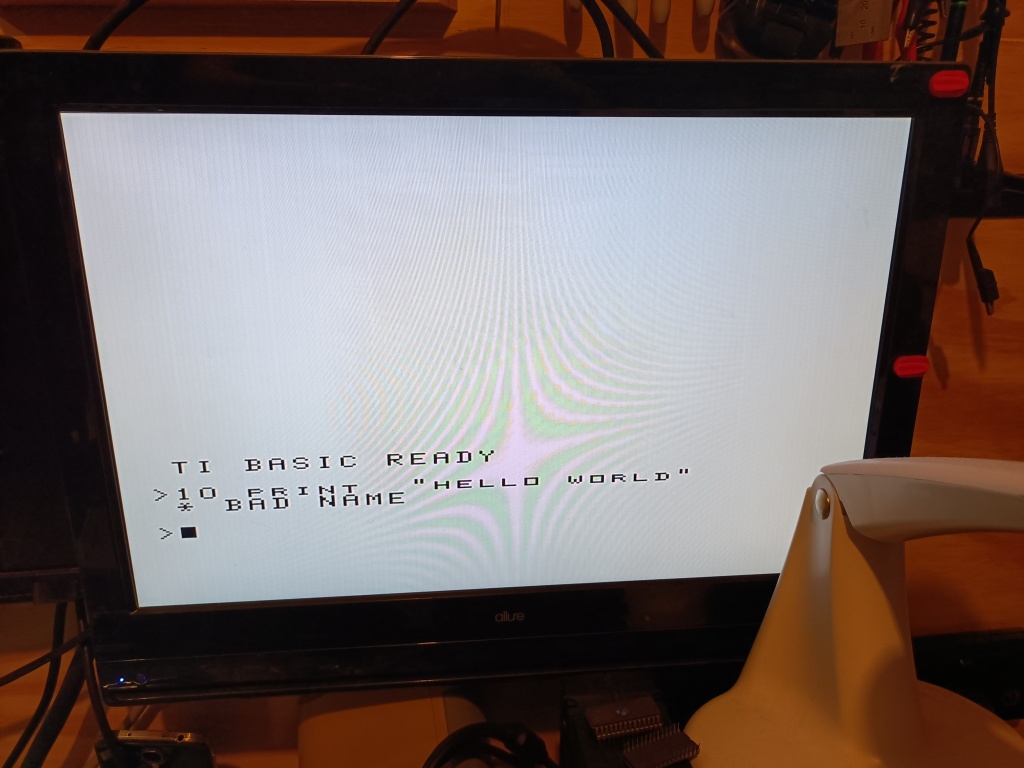
Right! I have since ordered a replacement PSU board that runs the entire thing off a single 18V PSU from an old laptop.
System 80
The System 80 has an enhanced OS inside it which is awesome. I have replaced the drive belt on the tapedeck, but I’m not getting correct volume levels out of it. I’m researching what to do next with that. I even fixed up a seperate tape deck so I could use it to record WAV files to tape off my computer.
Retro Chip Tester Pro.
After four different attempts, an AVRISP I had borrowed from a work colleague finally let me program the Retro Chip tester Pro.

I’ve used it to test hundreds of ICs in just a few days. Turns out I have a LOT of working 4116 RAM.
